Category Archives: Tutorials

Valentine’s Paper Chain

Valentine’s Day just wouldn’t be the same without a craft, so I invited my friend Lydia over to make a heart paper chain.


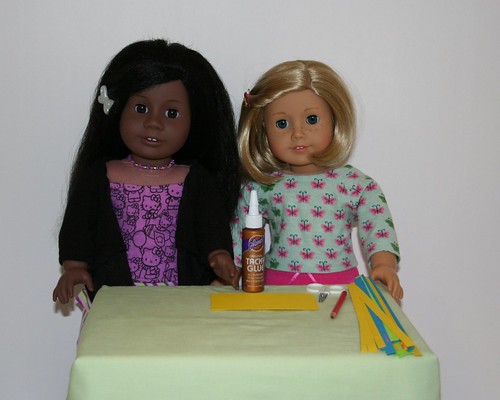
If you want to make your own chain you will need a few colors of paper. I chose red, pink and white because they are the official Valentine’s Day colors.


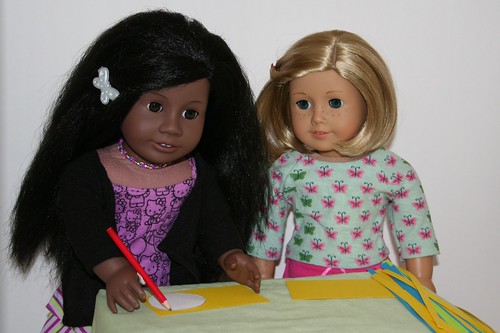
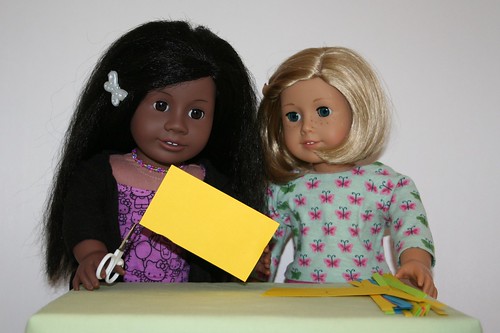
First cut the paper into thin strips.


Next fold one paper strip in half. Then use your fingers to gently curl the cut ends in.


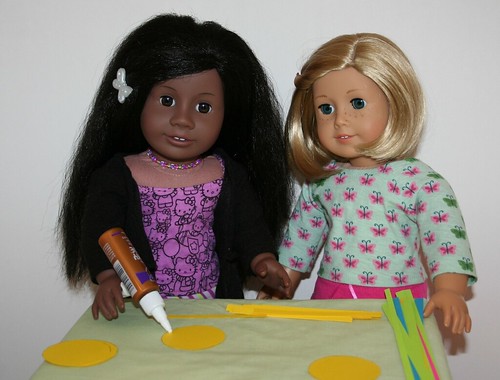
Then add a little glue to the end of the strip, bend it in and attach the other end of the strip to form a heart.


Lydia and each made a heart in our favorite color.


After you have two hearts connect them with a third heart to start forming a chain.


Continue to add links until the chain is the length you want.


As we held the chain up to admire our work, Cricket broke the “no cats on the table” rule to investigate.

What do you do to celebrate Valentine’s Day?

Leave a Comment

Filed under Tutorials

Shrinky Dink Ornaments

After years of them saying we did not need our own Christmas tree since we always visit my grandparents for Christmas, I convinced my parents we should have a tree at our house.

They were concerned about my cat Cricket climbing the tree or playing with the ornaments, so I promised that I would keep a close eye on him to make sure he was good.

We don’t have a lot of store bought ornaments to decorate our tree so I decided I should make my own. I invited my friend Lydia over to make Shrinky Dink ornaments.

Lydia thought other people might like to make their own Shrinky Dink ornaments, so we made a tutorial.


You will need Shrink film, I got mine at the local craft store and a few other basic supplies; scissors, a hole punch, and colored pencils. You will need a grown up to help with a few of the steps so it is good to make sure you have one close by.


You will need to decide how you are going to decorate your ornaments, shrink film is clear which means it is easy to trace pictures and color them in. I found a bunch of coloring pages I liked online and printed them out.
If you don’t want to use coloring pages you can use rubber stamps, or you can draw your own pictures as well. One nice thing about Shrinky Dinks is that everything, including mistakes, get smaller when you bake them, so your ornaments do not have to be perfect.


Lydia and I each picked a picture and taped a sheet of shrink film to the page.


Once the film was taped down I carefully traced the picture. You can use a Sharpie but a black colored pencil works too.


When you are done tracing color your picture however you want.


The shrink film will be clear after you bake it so make sure you color any parts you want white with colored pencil.


Once you finish your design carefully cut the corners and have a grown up use the hole punch to make a hole in the top. You need to remember to put the hole in before you shrink it, after it has been baked it will be impossible to create a hole, and you will not be able to hang it up.


Now you are ready to watch the magic happen. Have a grown up set the oven or a toaster oven to the temperature on the package and follow the directions on the shrink film package. If your oven has a window you can watch the ornament shrink!

Even if you want to pick it up right away make sure you wait until it is cooled, you don’t want to burn your fingers. When it is cool and the grown up says it is ok to touch it you can put a ribbon or string through the hole you made, and your ornament is done!


Lydia and I both made a few ornaments to decorate our trees. We held one set up next to the coloring sheets they came from so you can see how much they shrink.

Did you make any holiday decorations this year?

Leave a Comment

Filed under Tutorials

Basket Tutorial


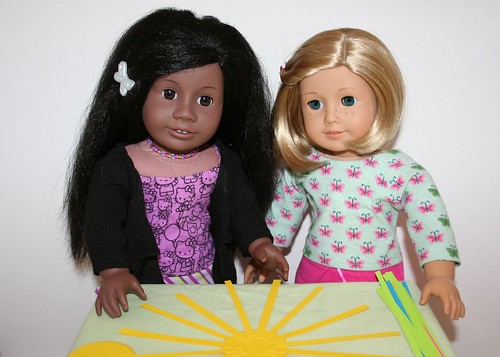
My friend Kit found a tutorial to make your own basket with card stock. I thought it sounded like fun so we looked at the directions and gathered all of the supplies. The first step was to measure and cut strips ¼ inch wide and slightly longer than the circumference of your basket. We have a paper cutter at my house, so I asked for help and we were able to skip that step.


The next step was to trace two circles for each basket. This will be the bottom of your basket. You can make it whatever size you want; our circles have a diameter of 2 inches


Next you carefully cut out your circles.


We decided that both of our baskets would have a base and sides that were yellow and have green and our favorite color woven in. We cut the yellow strips in half and put a small amount of glue on one of the circles.


We carefully arranged the strips around the circle. If you use yellow card stock it looks like a sun at this point! Our baskets had sixteen strips in them, but as long as it is an even number and they are evenly spaced it will work. After your base strips are in place you put glue on your second circle and place it on top of the first, sandwiching in your strips of paper.


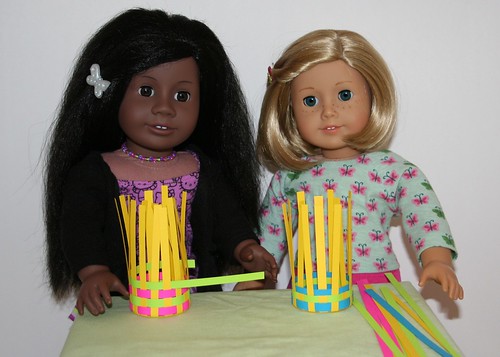
After your glue is dry fold up your base strips, for us that is the yellow ones. Then weave your long strips of paper and glue the ends together creating a ring.


Continue weaving your long strips alternating colors until your basket is as tall as you would like. We used five strips of paper on ours.


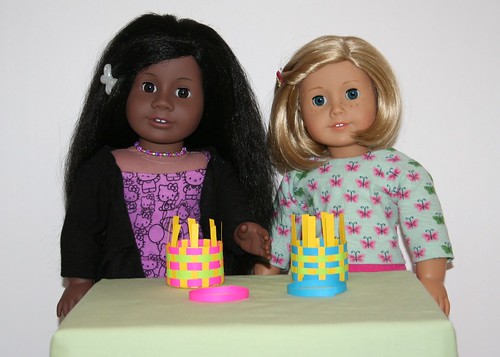
Next trim your base strips (yellow for us) so that they are about 1 inch taller than your basket. Fold over every other yellow strip and tuck it inside the basket. Next make one more colored ring and glue the ends together. Carefully place the ring inside your basket and fold the remaining yellow strips over the ring tucking them inside the basket.


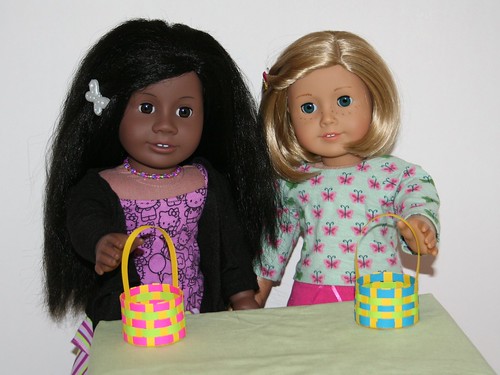
The final step is to create your handle. We used a strip of yellow that was 8 inches long. We were able to secure the handle by weaving it between the colored rings on the inside of the basket.

We are ready for an egg hunt!

Leave a Comment

Filed under Tutorials, Uncategorized

Paper Crane Ornaments

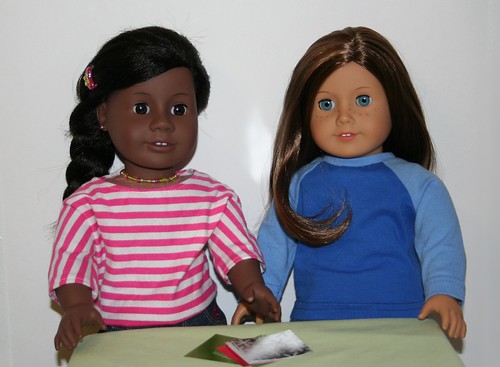
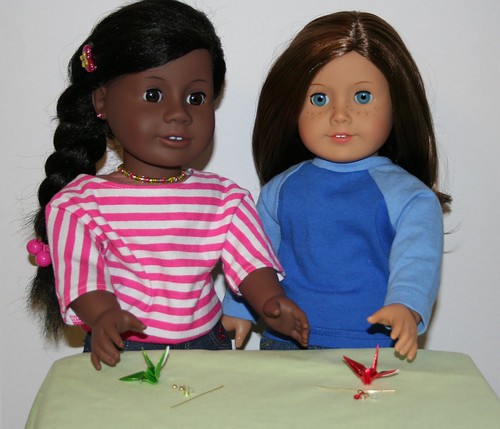
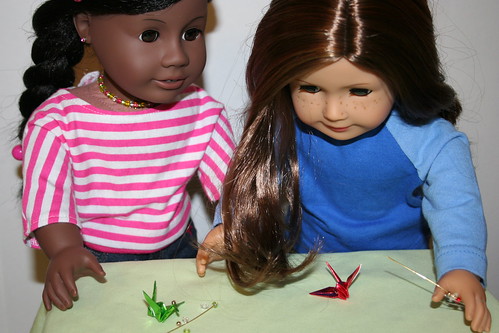
I love to do art and crafts of all sorts, after I read Happy New Year, Julie, I knew I wanted to make my own paper crane decorations just like Julie. Lydia would prefer to spend time outside, but she is my best friend so she agreed to join me. After making one we both had so much fun we wanted to show others how to make their own.

You will need origami paper, or paper that has been cut into perfect squares to make the crane. We chose this metallic paper in Christmas colors.

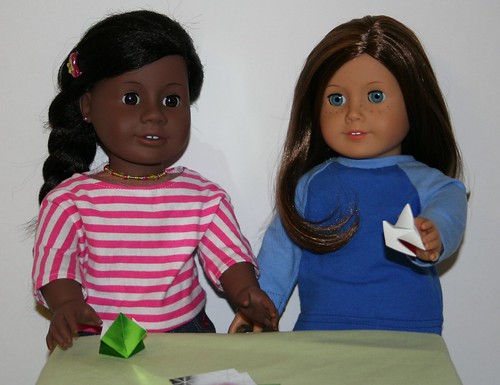
The first step is to fold your paper in half every direction and then to make a base that I call “double square.”

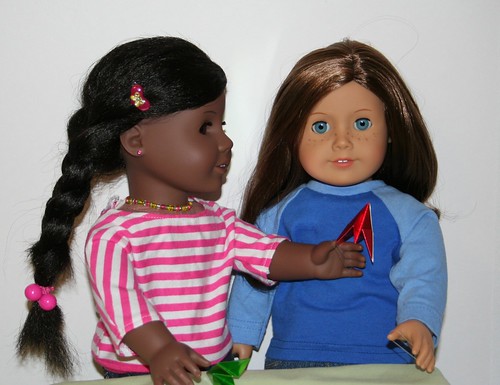
After the next folds Lydia thought it looked a bit like the Star Trek logo, so I held it up to her shirt. What do you think?
Here we are with the folding complete. You could put a piece of thread through the top of the crane or simply perch your crane on the branch of your tree if you wanted, but we decided to make ours fancy with beads and ribbon.

For this part you will need a completed paper crane, a head pin, an assortment of beads, ribbon, pliers and an adult to use them.

Start by placing any beads that you want to below your crane on the pin.

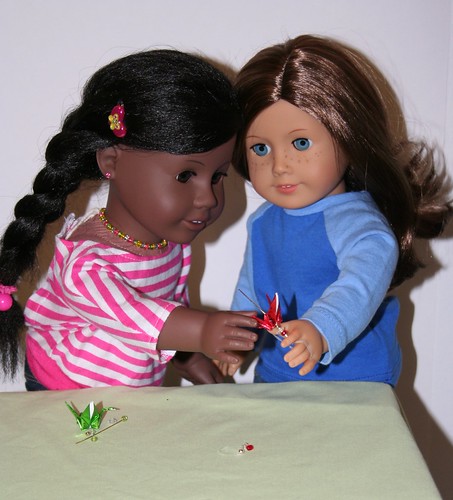
Next carefully place your crane on the pin, we used teamwork for this part. You can use a sewing needle to poke a hole through the top part of your crane first to make it easier. The bottom of the crane already has a hole in it. Then put the remaining beads on the pin and have an adult cut any extra length off the pin and bend the top into a loop.

The last step is to thread ribbon through the loop and tie a knot creating a loop for your crane to hang from.

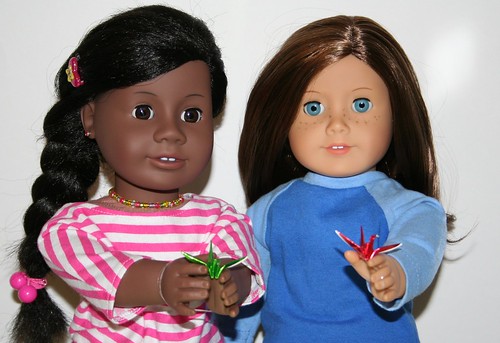
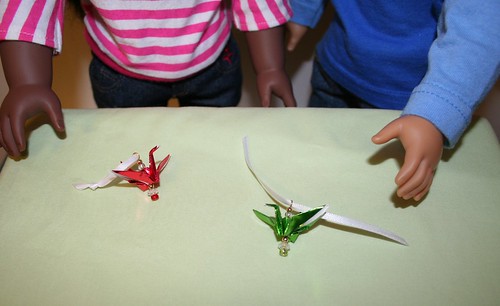
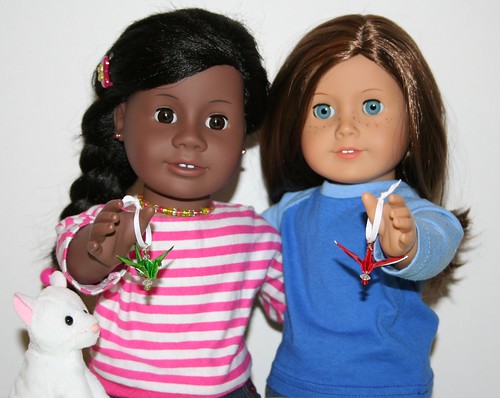
Here we are with our finished ornaments. Not wanting to be left out my cat Cricket jumped up on the table. Right after this photo was taken he started to paw at my crane, after I shooed him off the table explained to him that it wasn’t a real bird.

If you want to make your own paper crane ornaments you can find detailed folding instructions  here: http://www.origami-fun.com/origami-crane.html

Leave a Comment

Filed under Tutorials, Uncategorized

Stella Makes Knitting Needles

My friend Stella made her own knitting needles and wanted to share her tutorial:

Follow these steps to make your own.


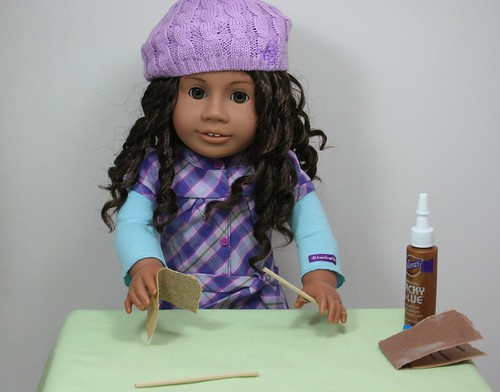
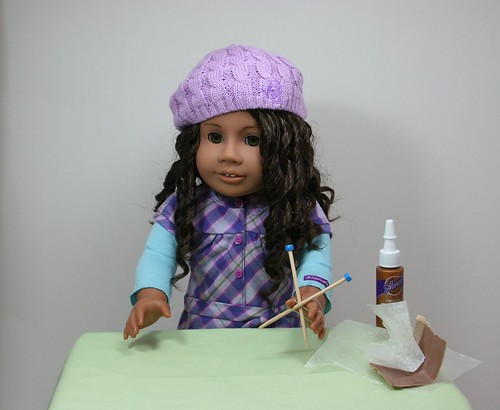
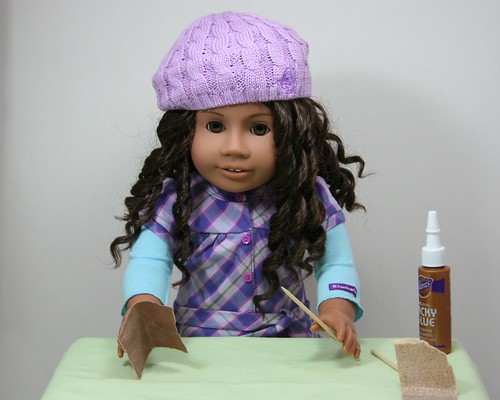
First gather all of your supplies. You will need a 1/8 inch wood dowel seven inches long, sand paper fine and course grit, wax paper, glue, and two beads that fit on your dowel.


First have an adult cut the dowel in half and use the course sand paper to sand one end of each needle to a point.


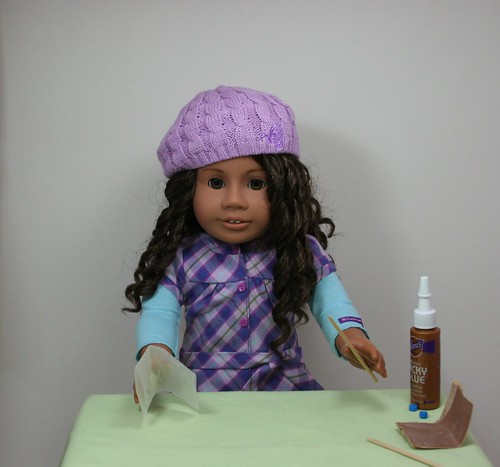
Sand each needle with the fine grit sand paper until it is very smooth. You don’t want anything that will catch on your yarn.


Once your needles are smooth rub each needle with the wax paper. This gives them a nice finish and helps the yarn slide on the finished needles.


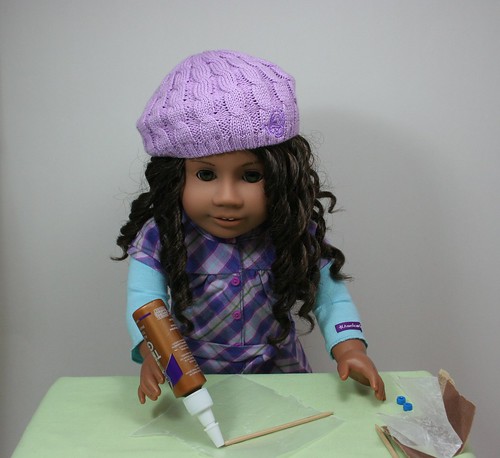
Put a small amount of glue on the blunt end of your knitting needles and carefully place your bead. The beads I chose fit on the dowel perfectly so I didn’t need much glue.


After your glue dries your needles are done!


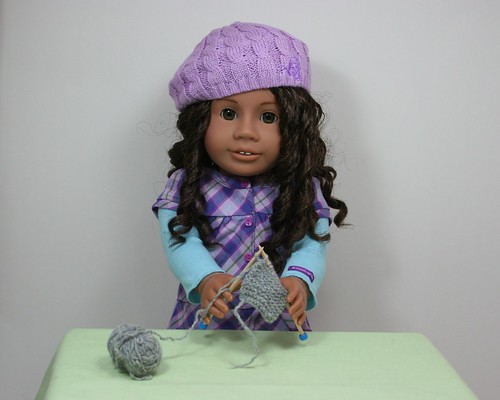
Here is an action shot,  knitting a scarf.

Leave a Comment

Filed under Tutorials, Uncategorized

Making Valentines

I love Valentine’s Day. What is not to love about a day where you get to tell family and friends how much they mean to you, plus pink is my favorite color.


I invited Lydia over so we could make valentines for our classmates. I told her I would be wearing my new dress and she should wear something special pink or with hearts. She told me I was being silly and protested, but when she arrived she was wearing the perfect dress.


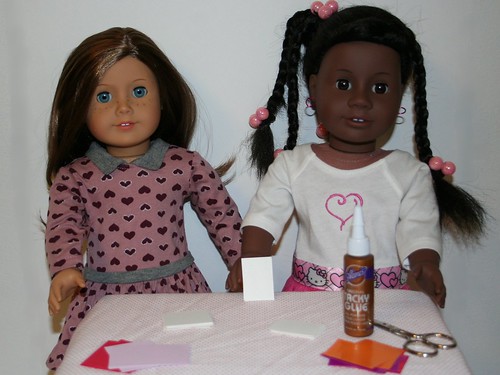
After gathering all of our supplies we made plans for our valentines. I chose to use the brightest paper I could find, while Lydia went with the traditional pink and red.


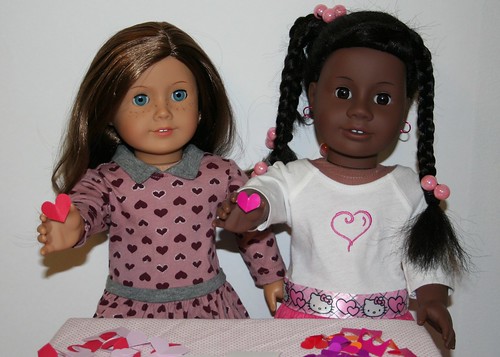
We both decided that our valentines would have two hearts on each card. I have 27 kids in my class and Lydia has 26 in hers, which equals lots of hearts!


We carefully arranged and glued the hearts on each card.


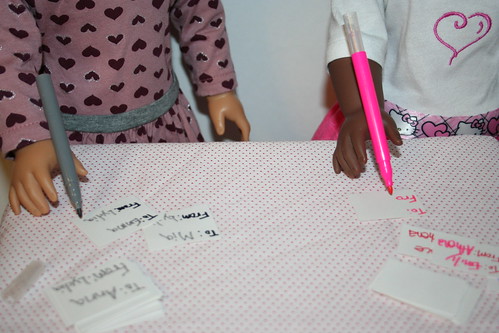
After the glue dried we flipped the cards over and started to write out one card for each kid in our class.


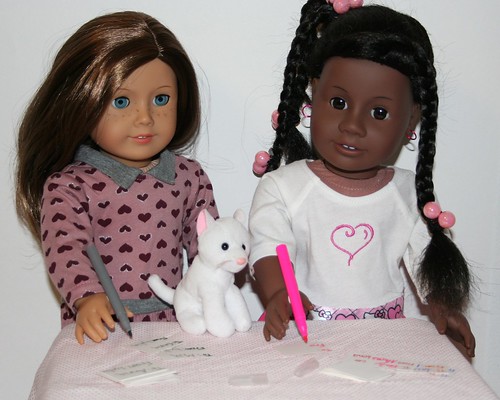
While we were writing Cricket jumped up on the table. Even though he is not allowed on the table I thought it was funny that he wanted to supervise so I let him stay, until he started pawing at my marker!


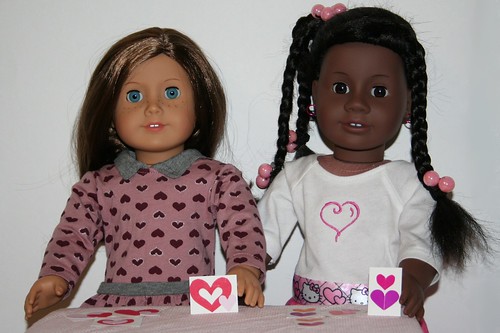
Here we are with a few of our favorite cards ready to take to school.
Do you have a favorite way celebrate Valentine’s Day?

Leave a Comment

Filed under Tutorials, Uncategorized